A favorite author of mine, John Green, is coming to Naperville on Friday and I’m going to meet him and get my book signed. He just came out with a new book, Paper Towns, and has written 2 others: Looking for Alaska and An Abundance of Katherines. All three are amazing and I highly recommend them. If you want to hear more about what I think of his books, you can read the post on my main blog.
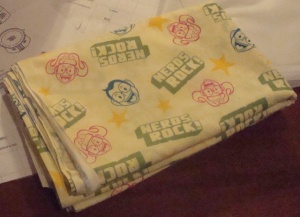
So, in celebration of meeting John Green, I decided I needed to make him something. I had found a free pattern for a bucket hat on the Simplicity website, so I decided to try it out. I went to Hancock Fabrics and started looking around for some good fabric to make into the hat. I wandered around a bit to see if anything caught my eye, and boy did it!! I found the most perfect material for a NERDFIGHTER!
Yes, my fabric DOES say “NERDS ROCK!” Thank you for asking!
I couldn’t have found something more perfect for this hat! I grabbed 3 1/2 yards (gotta save some for some future nerdy project you know…) and was on my way.
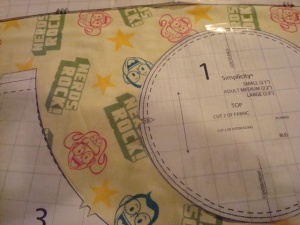
After printing out the instructions and pattern, then spending 10 minutes taping the damn thing together and cutting it out, I assembled my materials and was ready to begin.
The first step of any project is to cut out all the pattern pieces. While it only takes about 1/2 a yard of fabric folded to make the hat, there’s a LOT of cutting. Each pattern piece is for 2 pieces of fabric, plus interfacing for each piece.
Of course I also wanted to make sure I got the pattern on the fabric lined up nice with the piece, so it took some jiggling and angling to get things where I wanted them. Next was the ironing. There is LOTS of ironing when it comes to sewing. Who knew I would actually be asking for an IRON for Christmas one day??? I am not one to iron my clothes…ever…maybe once every year I’ll iron something, but for the most part, I’ll just wear it wrinkly! With sewing you’re usually ironing something 2 to 3 times or more! Plus, if you do iron on interfacing, there’s even more to do…but I digress…
This is me attaching the interfacing to one of the pattern pieces. This project really doesn’t have much to it and is a relatively fast project – that is, once you’ve gotten all the cutting and ironing done!!!!
Okay, so once that was finished I was ready to assemble. For this hat, you’re really making 2 identical hats and then sewing them together. there’s only 3 pieces to the hat so like I said, it goes pretty fast.
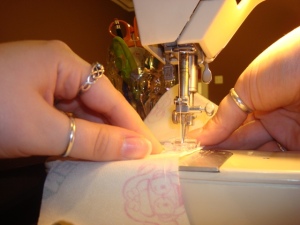
Pretty good shot, huh? I used the timer on the camera so I could sew and it could take the picture. I’m cleaver like that sometime, and humble!
Anyway…I stitched up the “first” hat:
and then the “second” hat. With the 2nd one, you leave a bit of an opening at the brim so that you can turn the 2 pieces inside out to sew together on the edge of the brim.
Once the 2 pieces are together, flip so the right sides are out and then you’re left with just the opening to hand stitch shut.
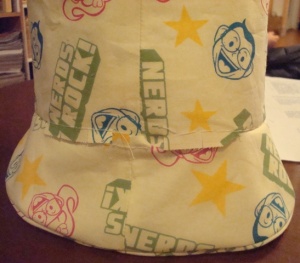
And then you’re all set with a kick-ass hat! Well…after a bit more ironing…


